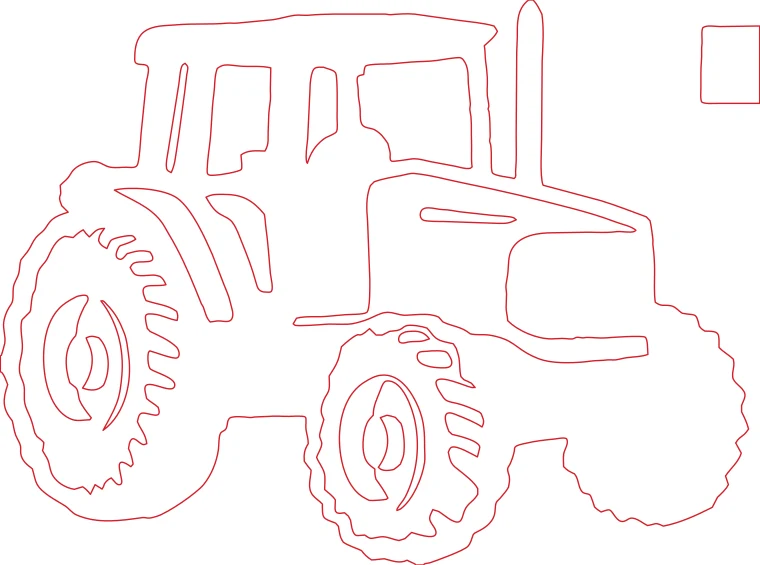
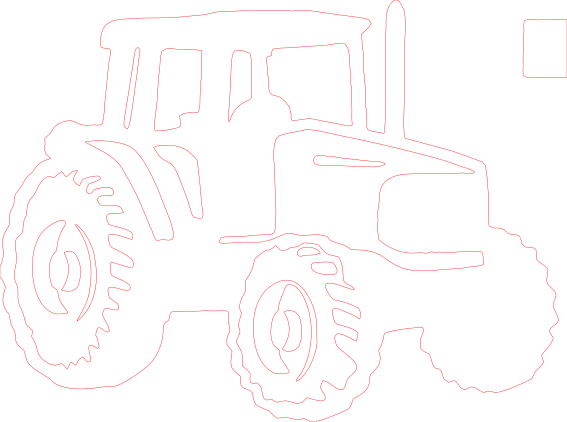
Tractor outline drawing: thin, closed contours, one color.
Download example SVG (21 kB)Download example DXF (207 kB)
Source image: Openclipart, rejon, CC0 1.0.
Upload a JPG, PNG or other image, set the final width in millimeters, and get a DXF with a single cut layer, plus an SVG and a PDF. The preview is free.
Each pair is an actual conversion of a public domain image, with the settings listed under it. You can download the exact files.
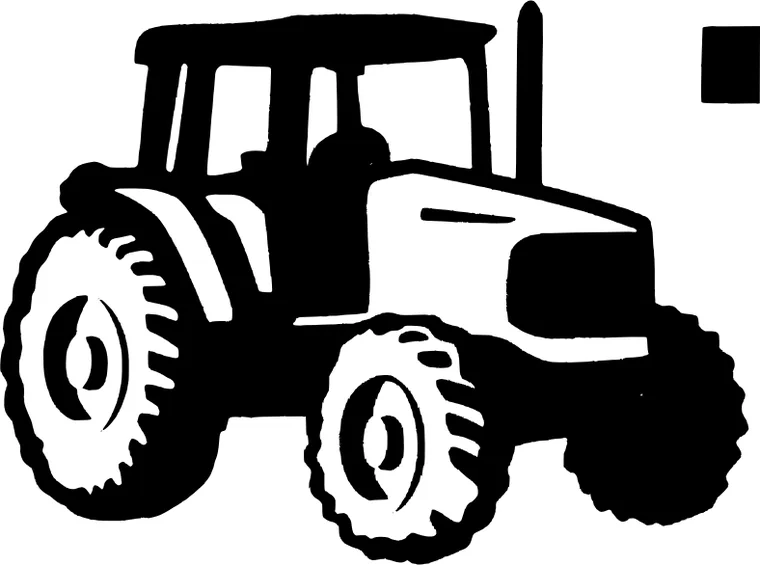
Tractor outline drawing: thin, closed contours, one color.
Download example SVG (21 kB)Download example DXF (207 kB)
Source image: Openclipart, rejon, CC0 1.0.
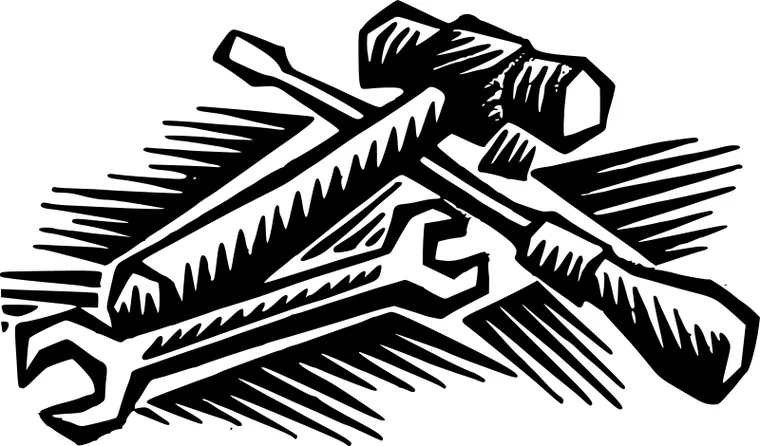
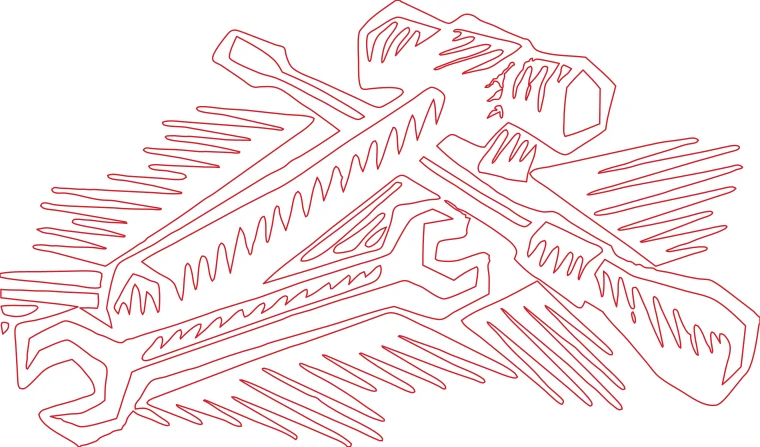
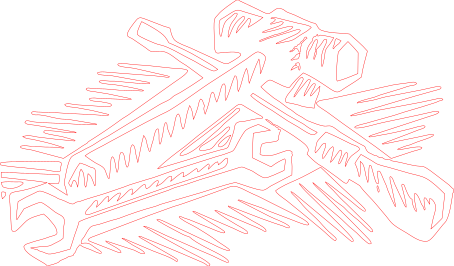
Woodcut tools engraving: many fine strokes, each one a closed contour.
Download example SVG (47 kB)Download example DXF (288 kB)
Source image: Openclipart, liftarn, CC0 1.0.
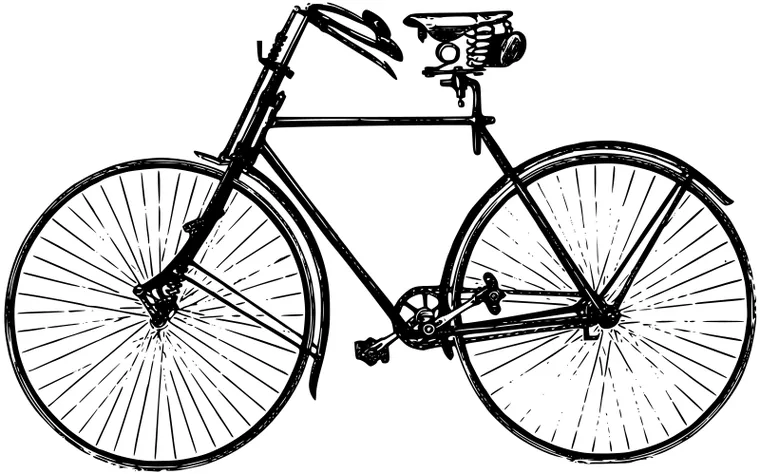
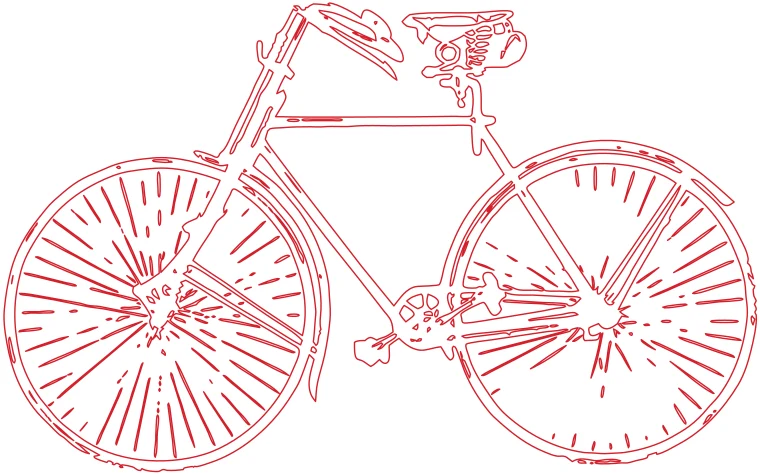
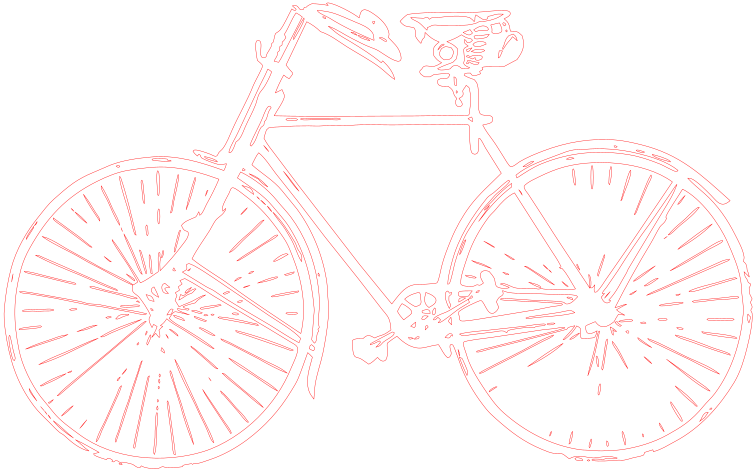
Vintage bicycle line drawing, at 200 mm wide.
Download example SVG (79 kB)Download example DXF (545 kB)
Source image: Openclipart, Firkin, CC0 1.0.
Free sample files, not watermarked.
The laser profile is already selected. These values are a good start for line art and flat graphics.
The file is DXF R2010 with units set to millimeters. Each contour is one closed polyline on a single layer called CUT, with the origin at the bottom-left corner of the design and Y pointing up.
Curves are flattened to short straight segments within 0.01 mm. At laser scale you cannot see the difference, but it means a DXF has more points than the SVG of the same design. If your software takes SVG, the SVG keeps real curves.
The converter traces shapes, so it works best on drawings, engravings, mandalas, silhouettes and logos with clear edges. A photo has no outlines to trace; you will get blobs of tone.
Yes. You choose the final width, and the DXF header says millimeters, so it opens at that size.
Yes. The preview is free and watermarked. One credit gives you the SVG, DXF and PDF of that conversion.
JPG, PNG, WEBP, GIF, BMP and HEIC, up to 10 MB.
The preview shows filled shapes so you can judge the design. The laser files contain only the outlines.