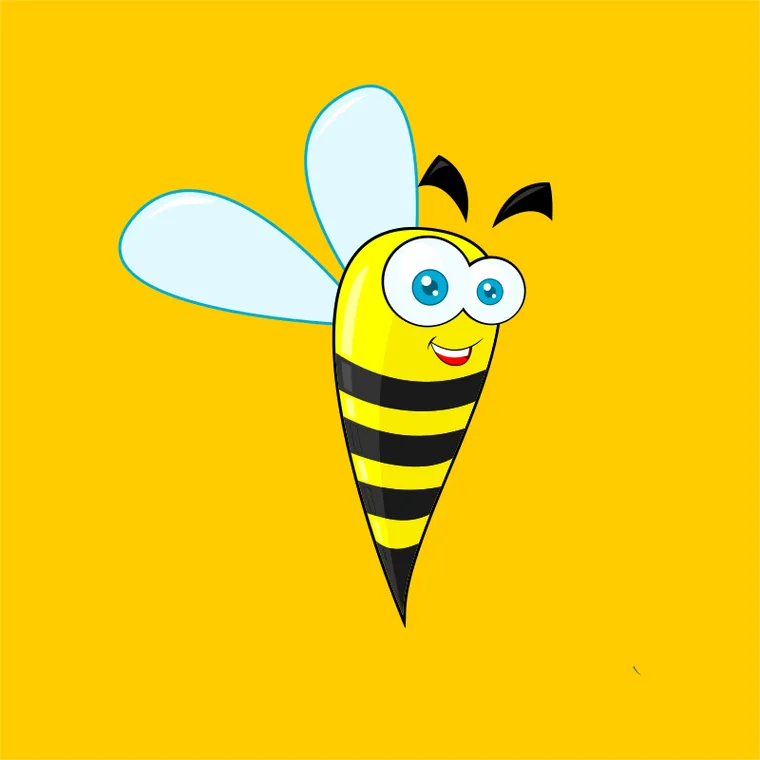
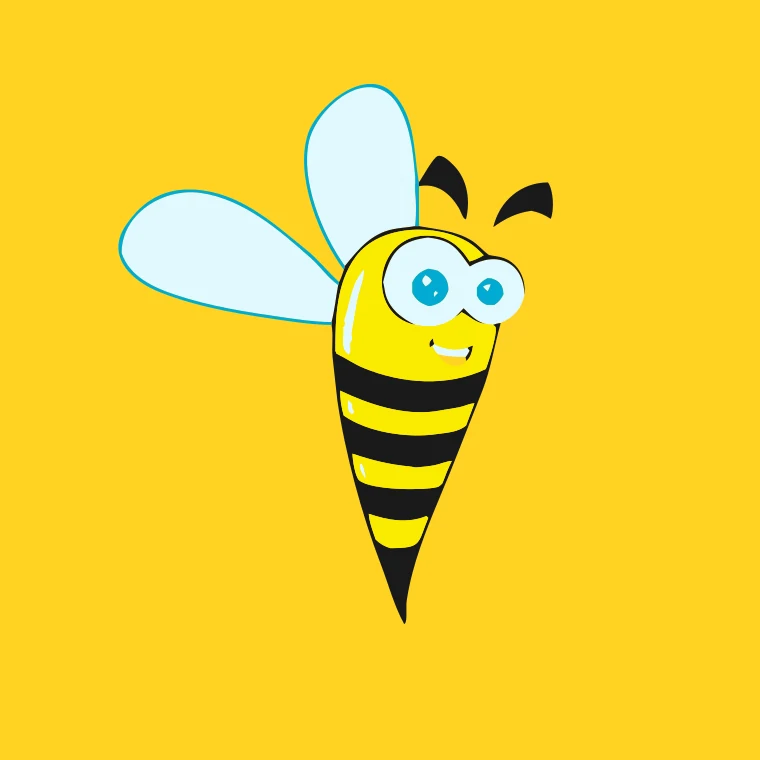
Bee mascot in 4 colors: the stripes, wings and outline are separate layers.
Download example SVG (11 kB)Download example DXF (124 kB)
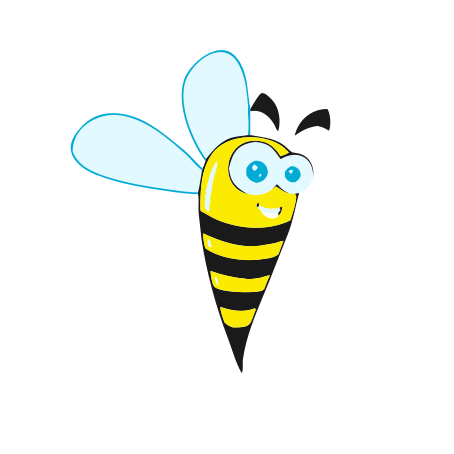
Source image: Openclipart, nugroho, CC0 1.0.
Choose how many vinyl colors you have, upload your image, and get an SVG where each color is a separate layer, ready for Design Space.
Each pair is an actual conversion of a public domain image, with the settings listed under it. You can download the exact files.
Bee mascot in 4 colors: the stripes, wings and outline are separate layers.
Download example SVG (11 kB)Download example DXF (124 kB)
Source image: Openclipart, nugroho, CC0 1.0.

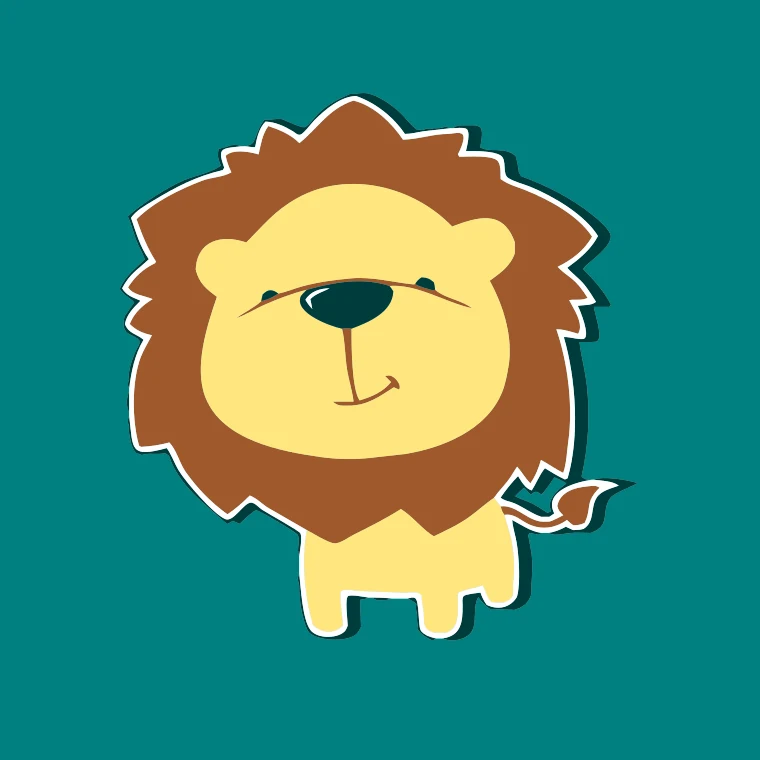
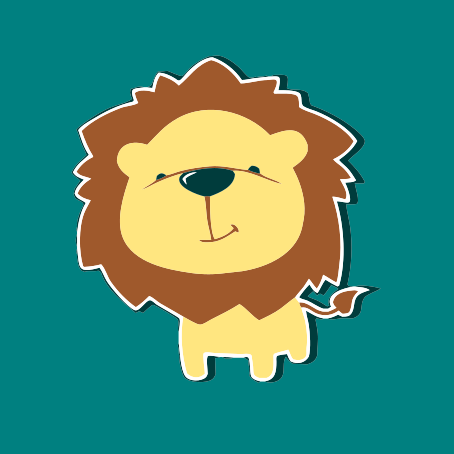
Lion mascot with flat colors, one layer per color.
Download example SVG (25 kB)Download example DXF (250 kB)
Source image: Openclipart, nugroho, CC0 1.0.


Rocket icon in 3 colors, a good candidate for a simple three-sheet project.
Download example SVG (11 kB)Download example DXF (122 kB)
Source image: Openclipart, Stellaris, CC0 1.0.
Free sample files, not watermarked.
The Cricut profile is selected and set to 4 colors. Change it to the number of vinyl colors you will actually cut.
Each color is a separate cut. Four colors means four sheets of vinyl, four mats and a lot of aligning. Many designs look the same with three. Try fewer colors first; the preview is free.
In the SVG, neighboring colors meet at their shared edge. They do not overlap. When you stack layered vinyl, a tiny misalignment can show a gap. If you see one, put the lower color slightly bigger with the Offset tool in Design Space so the top color sits on it.
Pieces smaller than a few millimeters are hard to weed from the backing and often lift. Use the detail option to drop tiny specks, and check the preview at the real size.
For iron-on (HTV), turn on the mirror option on the Make screen of Design Space. The SVG is not mirrored for you.
It is a plain SVG with filled shapes and one named group per color, which is what Design Space reads as layers.
No. It gives cut shapes only.
Yes. Set colors to 1 and you get a black silhouette, useful for one-color vinyl or a stencil.